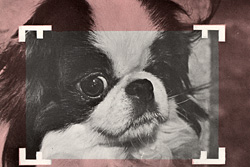
6×9
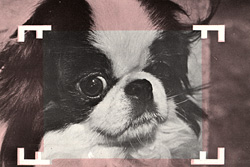
6×7
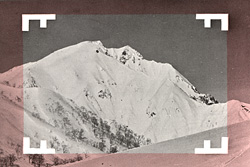
6×9
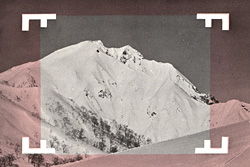
6×7

Mamiya Press Super 23
Users Guide
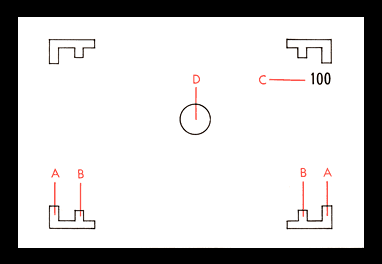
The viewfinder field frame is adjustable for different focal length lenses and parallax is corrected automatically.
The brilliant frame in the viewfinder shows the 6×9 cm and 6×7 cm formats. When the principal subject is at close distance, use the inside edges of the frame to form composition of the picture. When the principal subject is further away, use the outer edge of the frame.
AA...Frame for 6×9 cm format
BB...Frame for 6×7 cm format
C...Lens Focal length indicator
D...Rangefinder spot (double-image coincidence type)
| Focal length of lens | For close ranges, use inside edge of frame | For distances further away, use outside edge of frame |
| 100 mm | 3.5 ft. (1 m) to approx. 6 ft. (2 m) | approx. 6 ft. (2 m) to ∞ |
| 150 mm | 6 ft. (2 m) to approx. 9 ft. (3 m) | approx. 9 ft. (3 m) to ∞ |
| 250 mm | approx. 12 ft. (4 m) to ∞ |
| Close range |  6×9 |
 6×7 |
| Further distance |  6×9 |
 6×7 |
When using the finder after installing a 90 mm f 3.5 lens for the Mamiya Press on this camera, the entire range of view in the finder is almost identical to that of the 90 mm lens.
Since the view in the brilliant frame moves to the left and downward at close distances, after establishing the correct distance, the sighting position must be shifted in order to attain equal space between the outer edges of the brilliant frame and the entire range of view in the finder, thereby adjusting the composition so that parallax is compensated for.
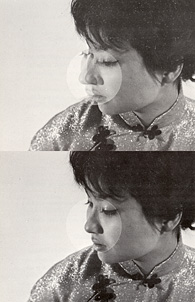
A small circle in the center of the viewfinder field shows the rangefinder images for focusing.
Turn the focusing ring (#15) in either direction so that the two images will coincide in the center of the circle and from a single image ; the lens will then be automatically and critically focused.
Do not turn the bayonet ring (#6) while focusing. The rangefinder will not function for focusing when the lens-shutter assembly is retracted or when the back mount (#29) is extended or swung.
Used by attaching it to the eyepiece (#27) to maintain the correct eye position and to prevent reflection of rays entering the eyepiece when observing objects through the finder.
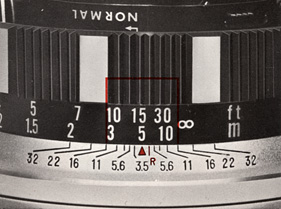
Standard f-stop marks, indicating the depth of field for the aperture used, are located on both sides of the triangle mark on the depth of field ring. For example, when focused on a subject 15 feet (5 meters) away with a 100 mm standard lens at f/16, everything between 9 feet (3 meters) and 50 feet (21 meters) will be in focus.
The depth of field scale (#17) cannot be used when the lens is retracted or when the back mount is extended or swung.
When photographing with infrared film, the distance obtained by focusing with the rangefinder must be adjusted before shooting.
This is done by rotating the focusing ring slightly, until the focused point on the distance scale (#16) is changed to align with the small red letter "R" on the depth of field ring (#17).